前提条件
Kubernetes版本: 1.15.x ≤ K8s version ≤ 1.17.x;
Helm版本: 2.10.0 ≤ Helm Version < 3.0.0,建议使用 Helm 2.16.2(不支持 helm 2.16.0 #6894),且已安装了 Tiller,参考 如何安装与配置 Helm (预计 3.0 支持 Helm v3);
集群已有默认的存储类型(StorageClass),若还没有准备存储请参考 安装 OpenEBS 创建 LocalPV 存储类型 用作开发测试环境。
集群能够访问外网,若无外网请参考 在 Kubernetes 离线安装 KubeSphere。
All-in-One 模式
对于首次接触 KubeSphere 的用户,想寻找一个最快安装和体验 KubeSphere 的方式,all-in-one 模式可一键安装 KubeSphere 和 Kubernetes 至一台目标机器。
KubeSphere 2.1 默认仅开启最小化安装,Installer 已支持自定义安装各个可插拔的功能组件,用户可根据业务需求和机器配置选择安装所需的组件,请确保开启可插拔组件之前机器资源满足最低要求,参考 安装说明 开启可选组件的安装。
若您的机器资源配置充足(CPU 不小于 8 核,内存不小于 16 G),非常建议您在安装前 将 KubeSphere 所有功能组件都开启 后再执行安装,体验 KubeSphere 容器平台端到端完整的容器管理与运维能力。
安装时间跟网络情况和带宽、机器配置、安装节点个数等因素有关,可通过调高带宽的方式,或在安装前 配置镜像加速器 来加快安装速度。
1
2
3
4
5
6
7
8
9
10
11
12
13
14
15
16
17
18
19
20
21
22
23
| vi helm-rbac.yaml
apiVersion: v1
kind: ServiceAccount
metadata:
name: tiller
namespace: kube-system
---
apiVersion: rbac.authorization.k8s.io/v1
kind: ClusterRoleBinding
metadata:
name: tiller
roleRef:
apiGroup: rbac.authorization.k8s.io
kind: ClusterRole
name: cluster-admin
subjects:
- kind: ServiceAccount
name: tiller
namespace: kube-system
|
1
2
3
4
5
|
curl -L https://git.io/get_helm.sh | bash
kubectl apply -f helm-rbac.yaml
|

1
2
3
| helm init --service-account=tiller -- tiller-image=sapcc/tiller:v2.16.3 --history-max 300
kubectl taint nodes $(hostname) node-role.kubernetes.io/master:NoSchedule-
|

1
2
3
| kubectl create ns openebs
helm install --namespace openebs --name openebs stable/openebs --version 1.5.0
|
1
2
|
kubectl patch storageclass openebs-hostpath -p '{"metadata": {"annotations":{"storageclass.kubernetes.io/is-default-class":"true"}}}'
|

1
2
|
kubectl taint nodes master1 node-role.kubernetes.io/master=:NoSchedule
|
至此,StorageClass 安装完毕
部署 KubeSphere
最小化快速部署
1
| kubectl apply -f https://raw.githubusercontent.com/kubesphere/ks-installer/v2.1.1/deploy/kubesphere-installer.yaml
|

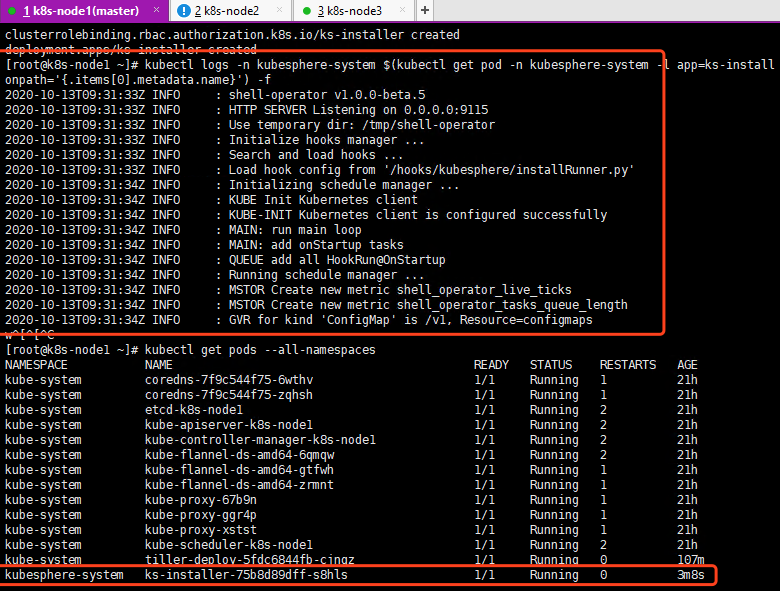
Inspect the logs of installation.
1
| kubectl logs -n kubesphere-system $(kubectl get pod -n kubesphere-system -l app=ks-install -o jsonpath='{.items[0].metadata.name}') -f
|

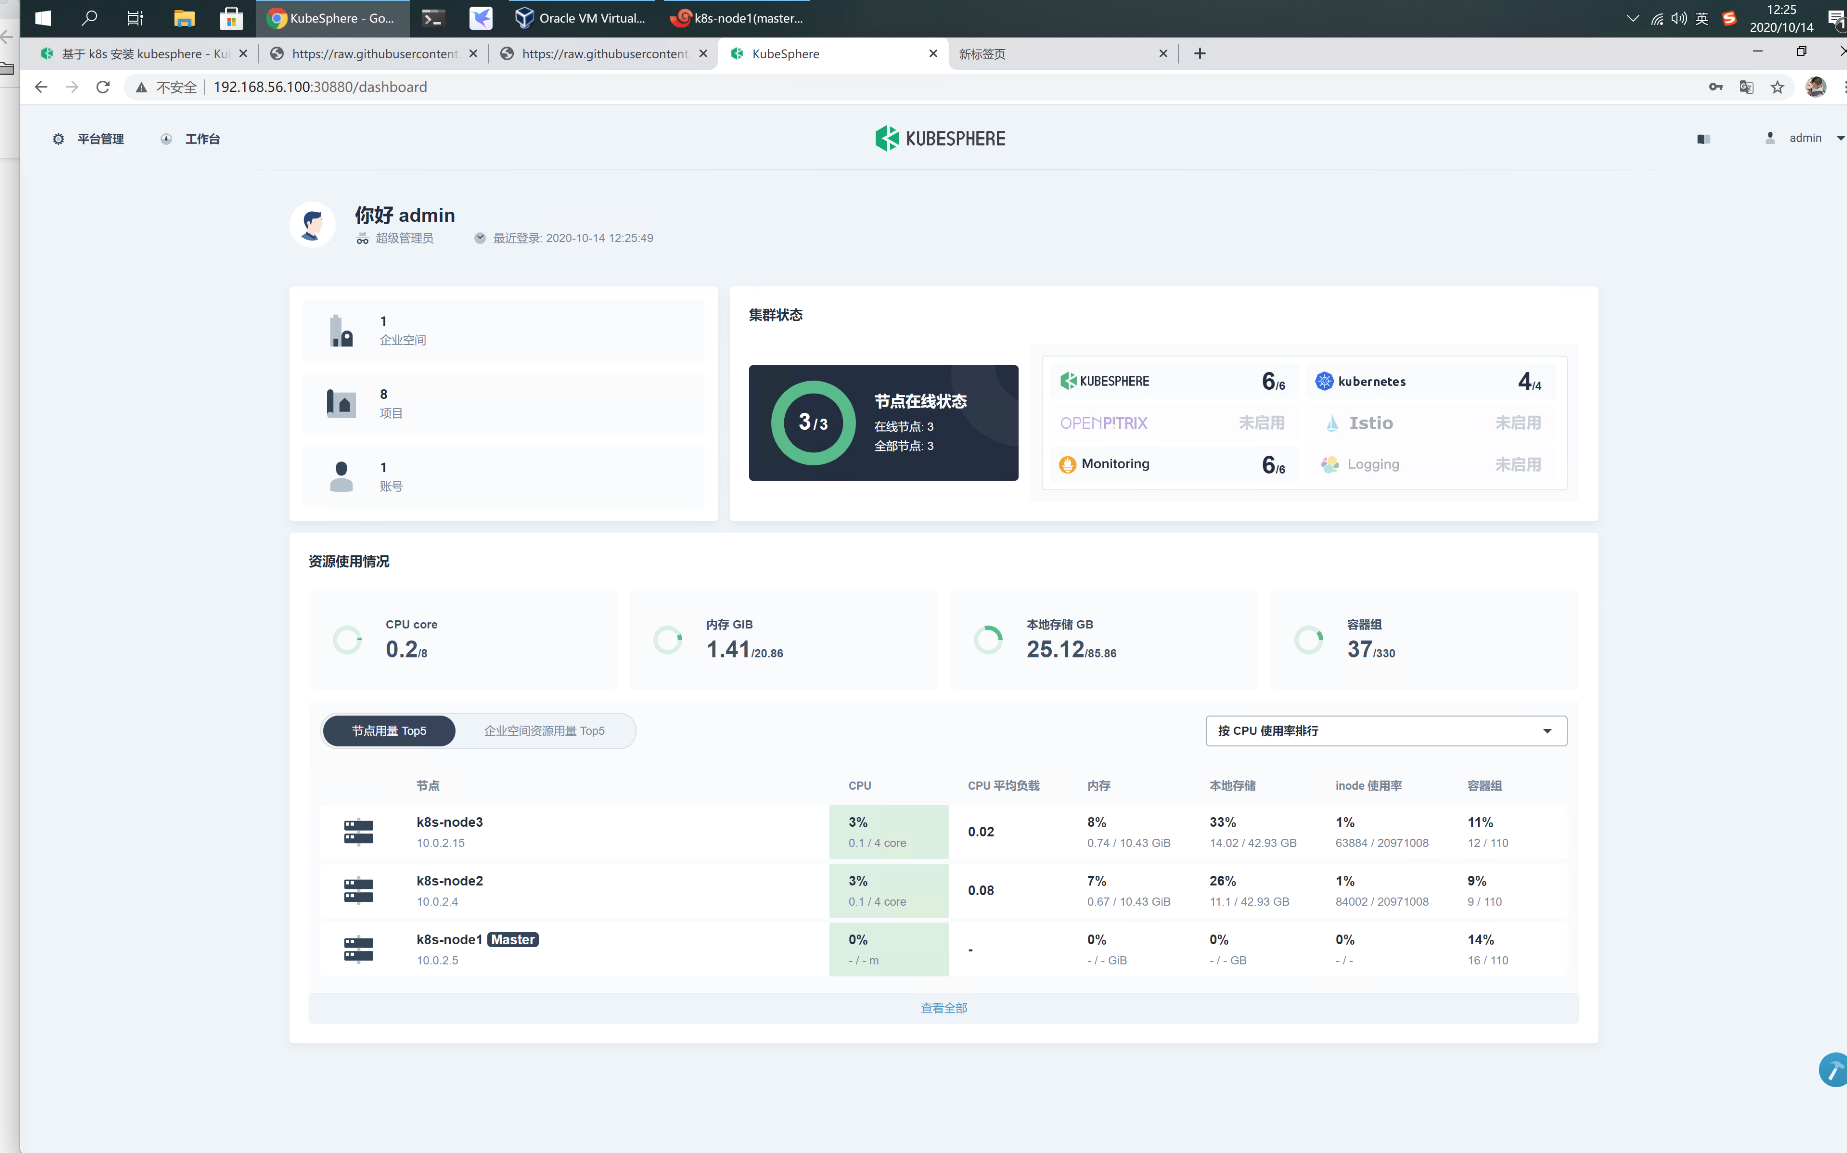
admin/P@88w0rd 登录

1
2
|
kubectl taint nodes k8s-node1 node-role.kubernetes.io/master=:NoSchedule
|


